
 Bill Jackson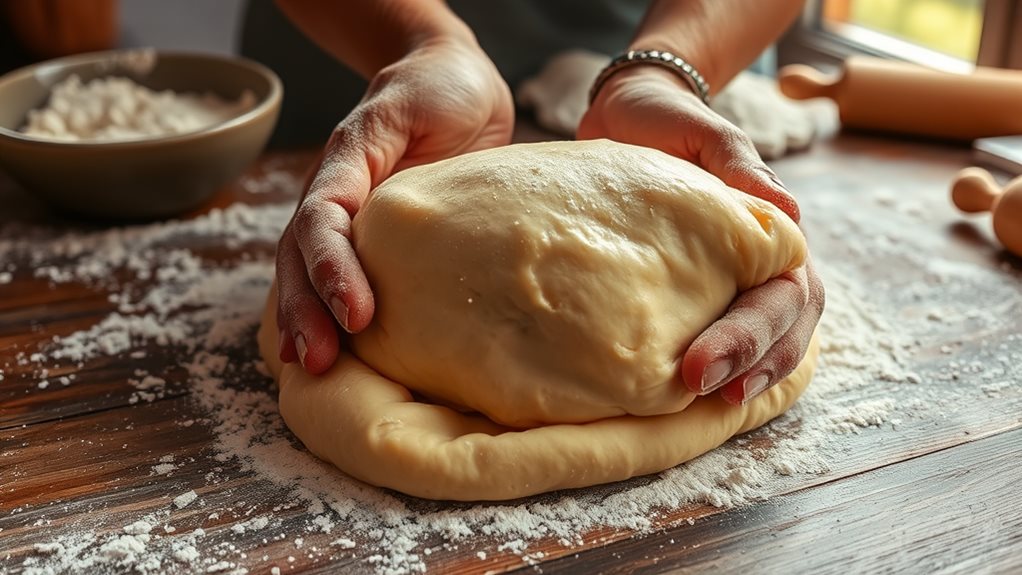
To knead dough for perfectly fluffy bread, start with a clean, floured surface. Your dough should feel slightly tacky yet manageable. Push down and fold the dough, rotating it a quarter turn after each push. Knead for about 8 to 10 minutes; you want it to become smooth and elastic. A well-kneaded dough springs back when poked and retains its shape. Watch out for common mistakes like over-kneading, which can lead to dense bread. Adjust your water and flour as needed to maintain a good consistency. If you want to master this process further, there's more to discover ahead.
Understanding Dough Consistency
When you're kneading dough, understanding its consistency is crucial for achieving the perfect texture. The key lies in balancing hydration levels and gluten development.
Start by observing the dough's feel; it should be slightly tacky but not overly sticky. If it clings to your fingers excessively, it usually indicates too much water. You can adjust by adding a small amount of flour, kneading it in until the dough reaches the right balance.
As you knead, you're actively developing gluten, which gives the dough its structure. Proper gluten development is vital for a chewy and airy bread. You'll know you've achieved this when the dough becomes smooth and elastic, stretching without tearing.
If it feels too dry and crumbly, you might need to increase the hydration levels by incorporating a little water, kneading it until fully absorbed.
Pay attention to the dough's elasticity and shape as you work. A well-kneaded dough will spring back when poked and hold its shape without collapsing.
Essential Tools for Kneading
Achieving the perfect dough consistency is only part of the kneading process; having the right tools makes all the difference. Start with a sturdy work surface. A clean, smooth countertop or a large wooden board serves as an excellent kneading surface. This stability allows you to work the dough effectively without it sticking or sliding around.
Next, grab a bench scraper. This handy tool helps you manage sticky dough and keeps your hands clean during the process. It's especially useful for high-hydration doughs, where moisture can make handling tricky.
Don't forget a quality mixing bowl, preferably made of glass or stainless steel. This bowl should be large enough to contain your dough as it rises and expands, allowing you to monitor hydration levels easily.
Lastly, consider investing in a kitchen scale. Accurate measurements ensure your ingredients are balanced, which is crucial for achieving the right dough hydration.
With these essential tools at your disposal, you'll be well-prepared to knead your dough into a beautiful, fluffy bread. Now you're ready to dive into the next stage of your bread-making journey!
The Basic Kneading Technique
Starting with your dough on a clean, floured surface, you'll want to fold it over itself and push down with the palms of your hands. This basic kneading technique incorporates your body weight, helping to develop gluten, which is essential for fluffy bread.
After pushing down, rotate the dough a quarter turn, fold it again, and repeat the process.
As you knead, you should feel the dough transforming—its texture will become smoother and more elastic. Aim for about 8 to 10 minutes of kneading; this is where the hand kneading benefits shine through. You get a tactile connection with your dough that machines can't replicate, allowing you to gauge its readiness through feel.
If you're using a stand mixer, machine kneading tips suggest starting on low speed and gradually increasing. Watch the dough closely; it should pull away from the sides of the bowl while remaining slightly tacky.
Whether you're hand kneading or using a machine, consistency is key. By mastering this basic technique, you're well on your way to creating delicious bread that's perfectly fluffy and satisfying.
Signs of Well-Kneaded Dough
As you knead your dough, you'll notice several key signs indicating it's well-kneaded. First, pay attention to the texture; the dough should feel smooth and slightly tacky, but not overly sticky. This indicates proper gluten development, which is essential for creating that perfect bread structure.
Next, check for dough elasticity. To do this, gently stretch a small piece of dough. If it stretches without tearing, you've achieved the desired elasticity. This means the gluten has developed sufficiently to trap air and support rising.
Another sign is the dough's ability to spring back when pressed with your finger. If it bounces back quickly, it's a good indication that you've kneaded it enough.
Lastly, observe the overall volume of the dough. After kneading, it should look slightly puffy, signaling that it's ready for its first rise.
Common Kneading Mistakes
Kneading dough can be a rewarding process, but there are common mistakes that can hinder your results. One major issue is over-kneading, which can lead to tough, dense bread. If you notice a shiny surface and your dough feels elastic but doesn't spring back, you might be overdoing it. The over kneading effects can ruin the texture of your final product, so pay close attention to the dough's feel.
On the other hand, under-kneading signs are equally important to recognize. If your dough remains sticky, tears easily, or doesn't hold its shape well, it's likely under-kneaded. This can result in bread that's flat and lacks structure. A good rule of thumb is to knead until the dough is smooth and slightly tacky, not sticky.
Another common mistake isn't adjusting your technique based on the dough type. Different doughs have unique needs, so it's crucial to adapt your kneading method accordingly.
Lastly, don't forget to incorporate enough flour but avoid adding too much, as it can dry out the dough. Being mindful of these common kneading mistakes will help you achieve perfectly fluffy and delicious bread.
Techniques for Different Dough Types
Different types of dough require specific techniques to ensure the best results. For instance, when you're working with sourdough, kneading becomes a bit different. You want to use a technique called stretch and fold. Instead of vigorous kneading, gently lift the dough and fold it over itself. This method promotes gluten development without overworking the dough, which can lead to a dense loaf.
If you're making a basic bread dough, you'll want to knead it using the classic push-and-fold method. Press the dough with the heel of your hand, then fold it over itself and repeat. Aim for about 10 minutes of this action to fully develop the gluten structure, which gives your bread that delightful chewiness.
For softer doughs, like brioche, you might need to incorporate a slap-and-fold technique. This helps distribute rich ingredients like butter throughout the dough while maintaining its elasticity.
Resting the Dough
After you've kneaded your dough to develop its gluten structure, it's time to let it rest. This resting period is crucial for allowing the gluten to relax, which contributes to a lighter, fluffier bread.
Place your dough in a lightly greased bowl, cover it with a damp cloth or plastic wrap to retain moisture, and let it sit at room temperature.
During this time, the dough undergoes fermentation, where the yeast activates and produces carbon dioxide. This process not only helps the dough rise but also enhances the flavor.
Depending on your recipe and the dough hydration, the fermentation time can vary. Generally, you'll want to let it rest for at least 30 minutes to an hour, but some recipes may call for longer periods to develop more complex flavors.
Keep an eye on the dough; it should roughly double in size. If you're working with a wetter dough, like ciabatta, you might notice it expanding more rapidly.
Once rested, your dough will be ready for the next steps, ensuring you create perfectly fluffy and delicious bread.
Incorporating Ingredients Effectively
How can you ensure that all your ingredients blend seamlessly into your dough? First, it's crucial to pay attention to your ingredient ratios. Weigh or measure your flour, water, yeast, and salt accurately. This balance is key to achieving the perfect texture and rise in your bread.
When you combine dry ingredients like flour and salt, whisk them together to distribute evenly before adding wet ingredients.
Next, when you incorporate flavor enhancements—like herbs, spices, or sweeteners—consider adding them during the initial mixing stage. This ensures they're evenly dispersed throughout the dough.
If you're using add-ins such as nuts or dried fruits, mix them in gently after your dough has been kneaded for a few minutes. This prevents them from breaking apart or getting overwhelmed by the dough.
As you knead, regularly check the consistency of your dough. It should be smooth and elastic, without any dry patches. If it feels too sticky, sprinkle a little flour; if it's too dry, add a teaspoon of water.
With these tips, you'll create a well-integrated dough that's ready for the next steps in your bread-making journey.
Advanced Kneading Methods
Often, bakers seek to elevate their dough-kneading skills by exploring advanced methods that enhance texture and structure. Two popular techniques are the stretch and fold and slap and fold methods, each offering unique benefits.
To start with the stretch and fold, you'll want to let your dough rest for about 30 minutes after initial mixing. Grab one edge of the dough, stretch it upwards, then fold it over to the center. Rotate your bowl and repeat this process for the remaining edges. This method develops gluten without excessive kneading, resulting in a light and airy crumb.
Next, try the slap and fold technique, which is particularly effective for wetter doughs. With this method, you'll lift the dough and slap it down onto your work surface, then fold it over on itself. You'll continue this rhythmic motion, allowing the dough to stretch and develop strength.
Both methods improve dough structure significantly, making your bread wonderfully fluffy. Experiment with these advanced techniques to find what fits your style best, and enjoy the rewarding results in your baking endeavors!
Troubleshooting Dough Issues
When you encounter issues with your dough, identifying the problem quickly can save your baking project. If your dough feels too dry, it may be a sign that your hydration levels are off. Add a little water, about a tablespoon at a time, kneading until you achieve the right consistency.
Conversely, if the dough is too sticky, you might need to incorporate more flour, but be cautious—too much can hinder dough elasticity.
If your dough isn't rising as expected, check the yeast. It should be fresh and activated properly. If it's not bubbling in warm water, you may need to start over with new yeast.
Additionally, insufficient kneading can affect dough elasticity, so ensure you're kneading long enough to develop the gluten structure.
If you notice that your bread comes out dense, it could stem from under-kneading or incorrect hydration levels. Always aim for a smooth, elastic dough.
Lastly, if the dough tears easily, it's likely too dry; add a bit more water and knead again. By addressing these issues promptly, you'll improve your bread-making skills and enjoy perfectly fluffy loaves every time.
Conclusion
By mastering the art of kneading, you're well on your way to creating perfectly fluffy and delicious bread. Remember to pay attention to dough consistency, use the right tools, and recognize the signs of well-kneaded dough. Don't rush the process; allow your dough to rest and incorporate ingredients thoughtfully. If you encounter any issues, refer back to the troubleshooting tips. With practice and patience, your homemade bread will be a delightful success every time!