
 Bill Jackson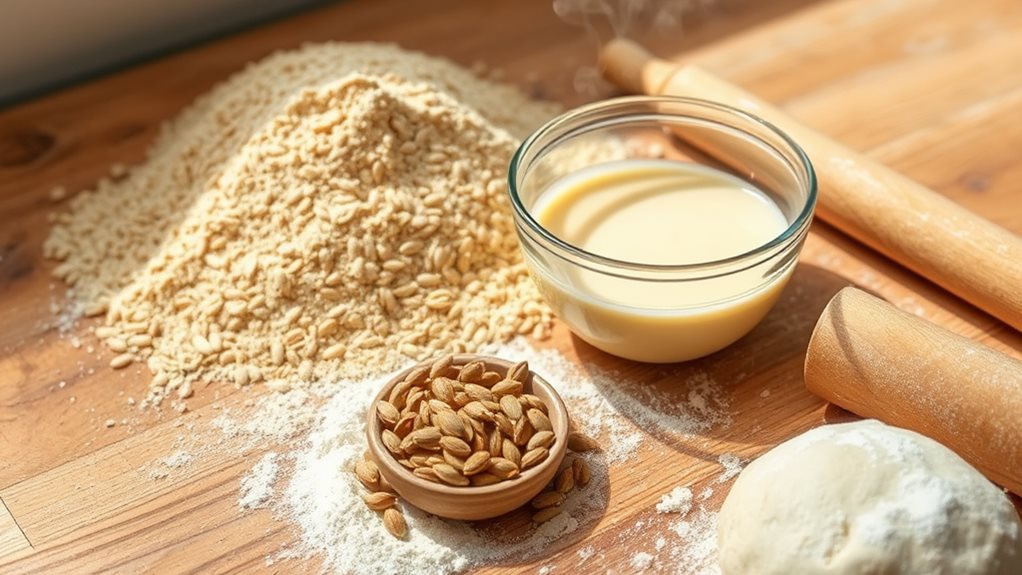
Whole wheat bread is not just delicious; it's nourishing too! Start by mixing high-quality whole wheat flour with warm water, then add active dry yeast, a bit of sugar, and salt. Knead the dough for about 10 minutes until it's smooth and elastic, then let it rise in a warm spot for 1-2 hours until doubled. Shape your dough and let it rise again before baking in a preheated oven at 375°F for 30-40 minutes. Once it's golden brown, let it cool for the best texture. What's next? There are plenty of creative serving ideas waiting for you!
Ingredients Needed
When it comes to baking whole wheat bread, having the right ingredients on hand makes all the difference.
You'll want to start with high-quality whole wheat flour, as it's packed with nutrients. This flour not only adds a nutty flavor but also delivers numerous health benefits, including fiber, vitamins, and minerals that support digestive health and overall wellness.
Next, gather active dry yeast; it's essential for creating that delightful rise in your bread.
Sugar, whether granulated or honey, acts as food for the yeast, ensuring a successful fermentation process. Don't forget salt—it enhances flavor and strengthens the dough structure.
You'll also need warm water to activate the yeast, but be cautious; too hot can kill it!
For a touch of richness, consider adding a bit of oil or melted butter, which brings moisture and a tender crumb to your loaf.
As a baking tip, measure your ingredients accurately for consistent results.
With these components ready, you're set for a rewarding baking experience. Enjoy the process, and soon you'll have a wholesome, homemade whole wheat bread that's not just delicious but also beneficial for your health.
Preparing the Dough
With your ingredients gathered, you're ready to prepare the dough for your whole wheat bread. Start by mixing the whole wheat flour with warm water in a large bowl. This initial step is crucial for achieving proper dough hydration; the flour needs time to absorb the water fully. Stir the mixture until it forms a shaggy mass, ensuring all the flour is incorporated.
Next, add your yeast, salt, and any sweeteners you've chosen. These ingredients kickstart the fermentation process, essential for developing flavor and texture in your bread. Mix everything until it's well combined, and you'll notice the dough beginning to come together.
Now, let the dough rest for about 10-15 minutes. This autolyse phase allows the flour to fully hydrate and the gluten to start forming, making your dough easier to work with later.
After resting, you'll have a sticky yet cohesive dough that's ready for the next steps. Remember, patience during this preparation phase will pay off with a delicious, hearty loaf. Get ready for the exciting process of kneading, where your dough will transform even further!
Kneading the Bread
Kneading the bread is where the magic truly happens, transforming your sticky dough into a smooth and elastic masterpiece. As you begin, dust your work surface with a little flour to prevent sticking.
Using your palms, push the dough away from you, then fold it back over itself. This simple kneading technique helps develop the gluten, which is crucial for achieving that perfect dough elasticity.
Keep your movements rhythmic and firm, but avoid overworking the dough. You'll know it's ready when it feels smooth and springs back when you poke it gently. If it's still sticky, sprinkle in a touch more flour, but be careful not to add too much—too much flour can lead to a denser loaf.
Kneading should take about 8-10 minutes. Feel free to switch up your techniques; you can try the stretch-and-fold method or even the slap-and-fold technique for a fun twist.
Whatever you choose, focus on creating that lovely, elastic texture. Once you're satisfied, your dough will be primed for the next step in your bread-making journey!
First Rise
After you've worked your dough into that smooth, elastic consistency, it's time to give it a chance to rise. This first rise is crucial, as it allows the yeast activation to kick in and start creating those delightful bubbles that will give your bread its airy texture.
Place your dough in a lightly greased bowl, covering it with a clean kitchen towel or plastic wrap. You want to keep it warm and draft-free, ideally around 75°F to 80°F.
As the dough rests, the yeast begins to feed on the sugars, producing carbon dioxide gas that causes the dough to expand. This process is essential for gluten formation, allowing your bread to develop strength and structure.
You'll notice the dough swelling as it ferments, usually doubling in size during this phase. Keep an eye on it—typically, the first rise takes about 1 to 2 hours.
Once you see that beautiful puffiness, it's time to gently punch it down to release the gas and prepare it for the next steps in your bread-making journey. Enjoy the anticipation; your loaf is well on its way!
Shaping the Loaf
Shaping the loaf is a critical step in the bread-making process that transforms your risen dough into its final form.
Begin by gently turning your dough out onto a lightly floured surface. Take a moment to appreciate the dough texture; it should feel soft and slightly tacky, yet still manageable.
Using your hands, flatten the dough into a rectangle, ensuring you don't deflate it too much.
Now, it's time for loaf shaping. Fold the top of the rectangle down towards the center, then fold the bottom up over the top. Next, roll the dough tightly from one side to the other, tucking in the edges as you go to create tension. This tension is crucial for a beautiful rise during baking.
Pinch the seams together to seal the loaf, ensuring it holds its shape.
Once you've shaped your loaf, place it seam-side down into a greased loaf pan. This step isn't just about aesthetics; it affects how the bread bakes, creating a nice, even crust.
Second Rise
With your beautifully shaped loaf nestled in the greased pan, it's time to let it rise again. This second rise, or proofing, is crucial for developing the bread's texture and flavor. Cover your loaf with a clean kitchen towel or plastic wrap, ensuring it's in a warm, draft-free spot. This allows the yeast to activate and work its magic.
During this rising period, the dough can expand, creating those lovely air pockets that contribute to a light and airy bread. You'll notice the dough puffing up, and this is an excellent time to think about the whole grain benefits of your ingredients. Whole wheat flour, packed with fiber and nutrients, not only enhances the flavor but also adds a wholesome quality to your bread, making it a nutritious choice.
Let your dough rise for about 30-60 minutes, or until it has doubled in size. You'll want to keep an eye on it, as over-proofing can lead to a dense texture.
Once your loaf is ready, you're one step closer to enjoying a delicious, homemade whole wheat bread that's both satisfying and healthy.
Baking Instructions
The aroma of freshly baked bread fills the air as you preheat your oven to 375°F (190°C).
Once your oven reaches the right temperature, carefully place your loaves in the center, ensuring they've risen adequately. As they bake, the heat transforms the dough, creating a crust that develops a golden-brown hue while locking in moisture.
Keep an eye on your bread; it usually takes about 30 to 40 minutes to bake fully. You'll know it's done when the crust is firm and sounds hollow when tapped on the bottom.
Using whole grains in your recipe not only enhances the flavor but also maximizes health benefits, offering more fiber, vitamins, and minerals than white bread.
For an extra touch, you can brush the tops with melted butter or olive oil just a few minutes before they finish baking. This adds a delightful sheen and extra richness.
As the bread finishes, you'll be eagerly anticipating the moment you can slice into that warm, wholesome goodness, knowing you've made a nutritious choice for you and your family.
Enjoy the process, and revel in the satisfaction of baking your own whole wheat bread!
Cooling the Bread
After removing your loaves from the oven, let them cool on a wire rack for at least 20 minutes. This step is crucial for achieving the perfect bread texture. By placing your hot loaves on a cooling rack, you allow air to circulate around them, preventing sogginess on the bottom. If you skip this, you might end up with a dense, gummy texture that's far from what you want.
As your bread cools, you'll notice the delightful aroma filling your kitchen, a sign that your hard work is paying off. The cooling process helps the steam escape, which not only enhances the flavor but also improves the crumb structure. You want your bread to be soft yet sturdy, with a nice crust that's easy to slice.
Resist the temptation to cut into your loaves right away; patience is key. If you slice too soon, you risk squishing the warm bread, compromising its texture.
Allow those 20 minutes to pass, and you'll be rewarded with loaves that aren't only beautiful but also boast a light, airy interior and a satisfying crust—truly the hallmark of great homemade whole wheat bread!
Serving Suggestions
Once your loaves have cooled and you're ready to enjoy the fruits of your labor, consider how to serve this wholesome bread to elevate your meal. Whole wheat bread pairs beautifully with a variety of healthy toppings. Think creamy avocado spread, fresh tomato slices, or a light smear of hummus. These options not only enhance flavor but also boost nutritional value.
For lunch, you can craft delicious sandwich ideas. Layer turkey, spinach, and mustard for a satisfying bite, or go vegetarian with roasted veggies and feta cheese. The nutty flavor of whole wheat complements these fillings perfectly.
When it comes to breakfast options, toast a slice and top it with almond butter and banana slices for a quick energy boost. You could also try it with Greek yogurt and fresh berries for a nutritious start to your day.
To keep your bread fresh, remember these storage tips: wrap it in a clean kitchen towel or place it in a bread box at room temperature.
For longer storage, slice it and freeze portions, so you can enjoy a slice whenever you crave that homemade goodness!
Conclusion
Now that you've crafted your whole wheat bread, take a moment to appreciate the warm, nutty aroma filling your kitchen. Slicing into that golden crust reveals a soft, hearty interior, perfect for sandwiches or simply enjoyed with a pat of butter. You've not only nourished your body but also created a delightful experience. Share your creation with loved ones, and relish the satisfaction of homemade goodness. Enjoy every bite of your wholesome masterpiece!